I’d been on the waiting list since October, so when I finally had the opportunity to order a Nest thermostat, I jumped at the chance.
It arrived Friday.
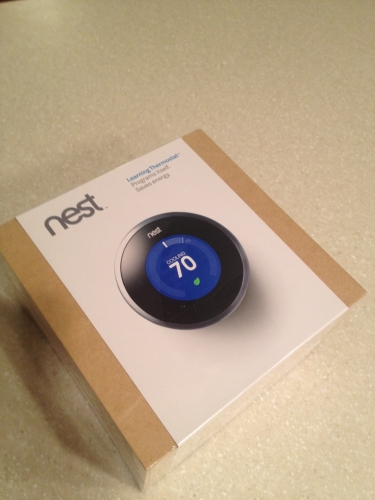
Before doing anything I disconnected the heater/fan from the power and killed the breaker to the air conditioning condenser.
Check out this business. We’ve been in this house for nine years and this old Honeywell gizmo is at least that old. It’s served us well, but it was time to move on.
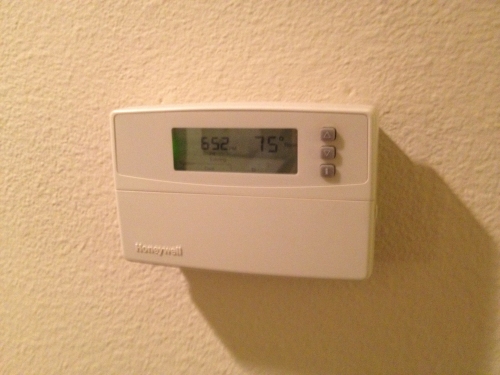
First order of business – remove the faceplate.
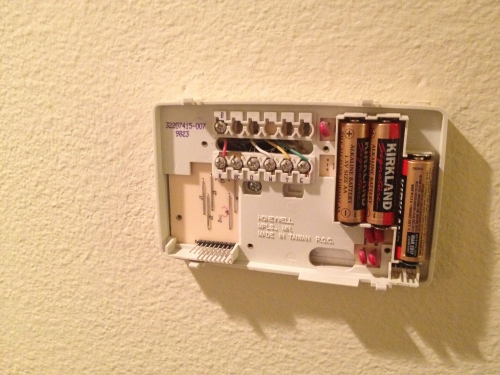
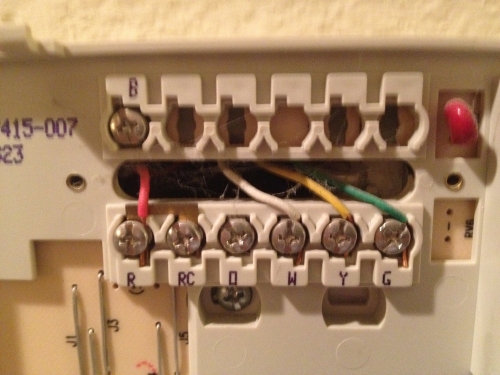
Before removing the backplate, make note of the wire colors and the letters they’re connected to.
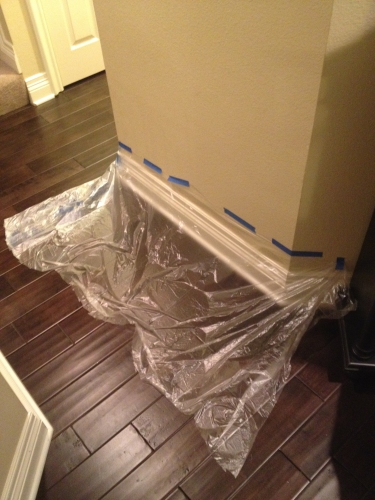
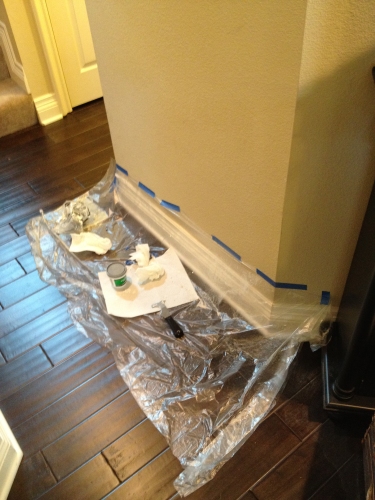
I masked off the area below with some plastic and painter’s tape to make cleanup easy.
When you remove the old thermostat you’ll probably be faced with old paint. Nest has anticipated this and includes paintable white plastic wall plates, both rectangular and square, to cover this mess.
(I wrapped the four wire ends in tape to keep them clean.)
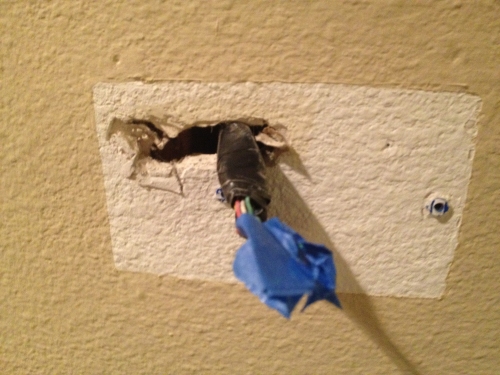
I didn’t want to go the wall plate route and instead went the extra mile to make it look nice. It also meant the install took twice as long as it needed to…
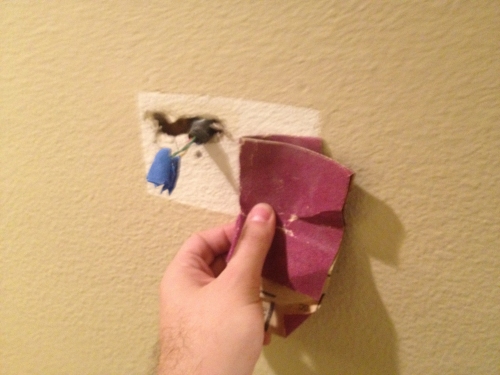
It’s not enough to just repaint the wall – you’d end up seeing a rectangle in the shape of the old thermostat in the wall texture. I first sanded down the edges of that old rectangle…
Then I bought a can of water-based wall texture and sprayed it on, making sure to cover the sanded areas framing the edge of the old thermostat.
Water-based is important – if you screw it up or overspray you can just clean it up with a wet paper towel or sponge.
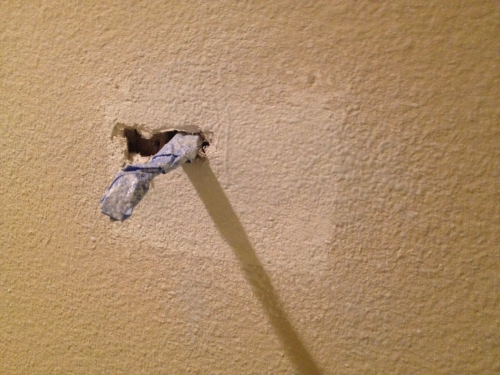
You really have to spray from quite a distance – and not go crazy. Both the new and old areas should still show through whatever you end up spraying on the wall. Takes a little under an hour to dry.
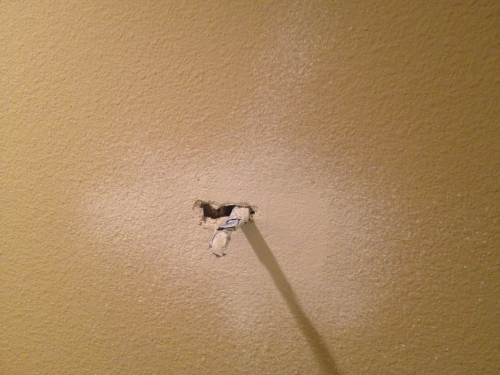
Once the wall texture dried I painted the wall. This is fresh and hasn’t dried yet, hence the discoloration…
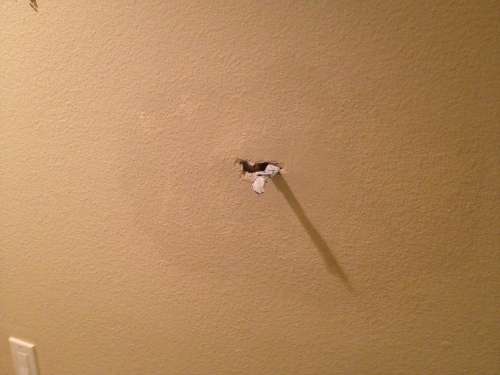
Once it had dried I realized that the hole in my wall was wider than the Nest’s base – I had to go back and add some spackle, let it dry, and repaint a small section. Only then was the hard part finally over.
If, unlike me, you decided to use the provided wall-plates, there was no hard part. You were done in 15 minutes and you whistled Dixie the whole way through.
Now you just use the provided anchors and screws to put the Nest base on the wall, just as you would with any other fixture. The included bubble level was a nice touch.
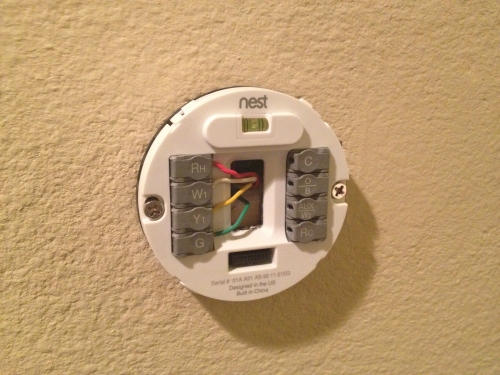
Every residential HVAC system is different, but here in Southern California the four-wire system is very common.
Red provides power, white goes to heat, yellow goes to A/C, and green controls the fan. Unlike nearly every other thermostat on the market, Nest has an internal battery and it’s able to charge itself from the low-voltage power provided on the red wire.
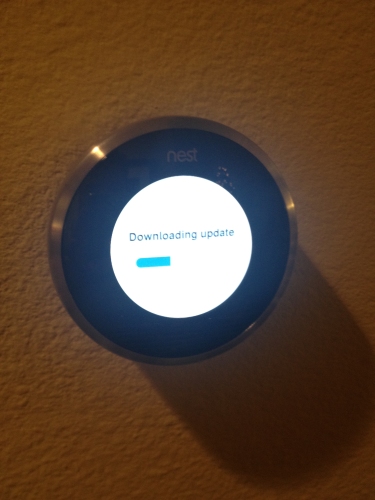
Just push the Nest control module onto the base, restore power to your HVAC, and Nest will power up! The first thing it’ll do is ask for your Wifi name and password. It’ll immediately download the latest firmware, reboot itself, and ask you some basic questions about your setup.
This would be a good time to clean up. All that texture overspray, paint, and sanded-off material has been waiting patiently to be thrown away…
And there we go. After downloading and installing the latest firmware, Nest is ready to start heating and cooling your home.
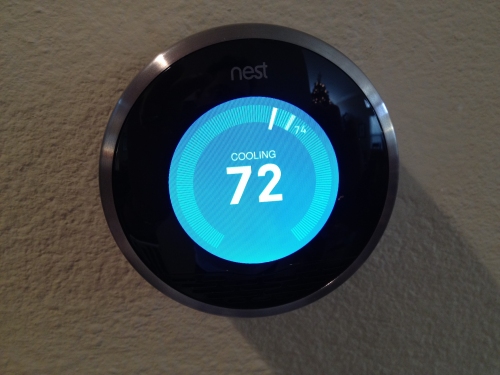
You can control Nest from the dial, of course, but also from a web browser, iOS device, or Android phone.
Nest will learn your heating and cooling preferences and, after a week, program itself for optimal efficiency. It can also detect when you’re not at home and set itself appropriately. I’m just scratching the surface here, but nest.com has all the particulars, so check it out for more info!
Look how classy this tiny wall in my house looks now!
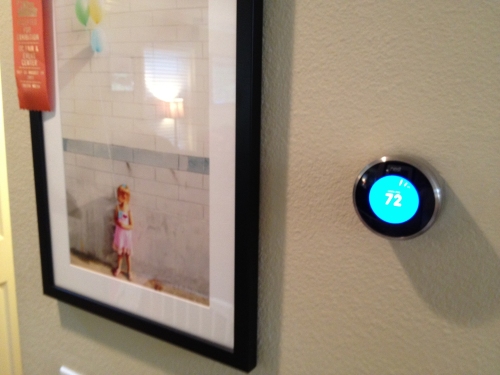
Being able to climate-control my house from the comfort of my bed or couch is a pretty wild idea. Unfortunately the weather this weekend has been pretty mild so I haven’t had much use for heating or cooling, but I’m looking forward to someday turning the heat on from the comfort of my toilet.

hi; I found this blog by following your portrait in the dreamhost blog. I was trying to find a way to communicate with someone in dreamhost since the panel.dreamhost.com is down for me. I was really frustrated, but in return I found this article which is really well written and I was curious about Nest since I first heard of it.
This looks amazing!! Can you post an update a week or so after its been running with any reports on its “learning”?.
I still havent gottent panel.dreamhost to work, but thanks for this article… very cool.
Thanks for taking the time to write up this. I just got the Nest too and followed your steps and was able to install Nest perfectly. Like you, I went the extra mile to speckle, wall texture and repainted the wall for Nest.
Love love this Nest thing. Getting another Nest for our upstairs.
Neato! Glad it was helpful. The 2.0 software they just rolled out is pretty great.