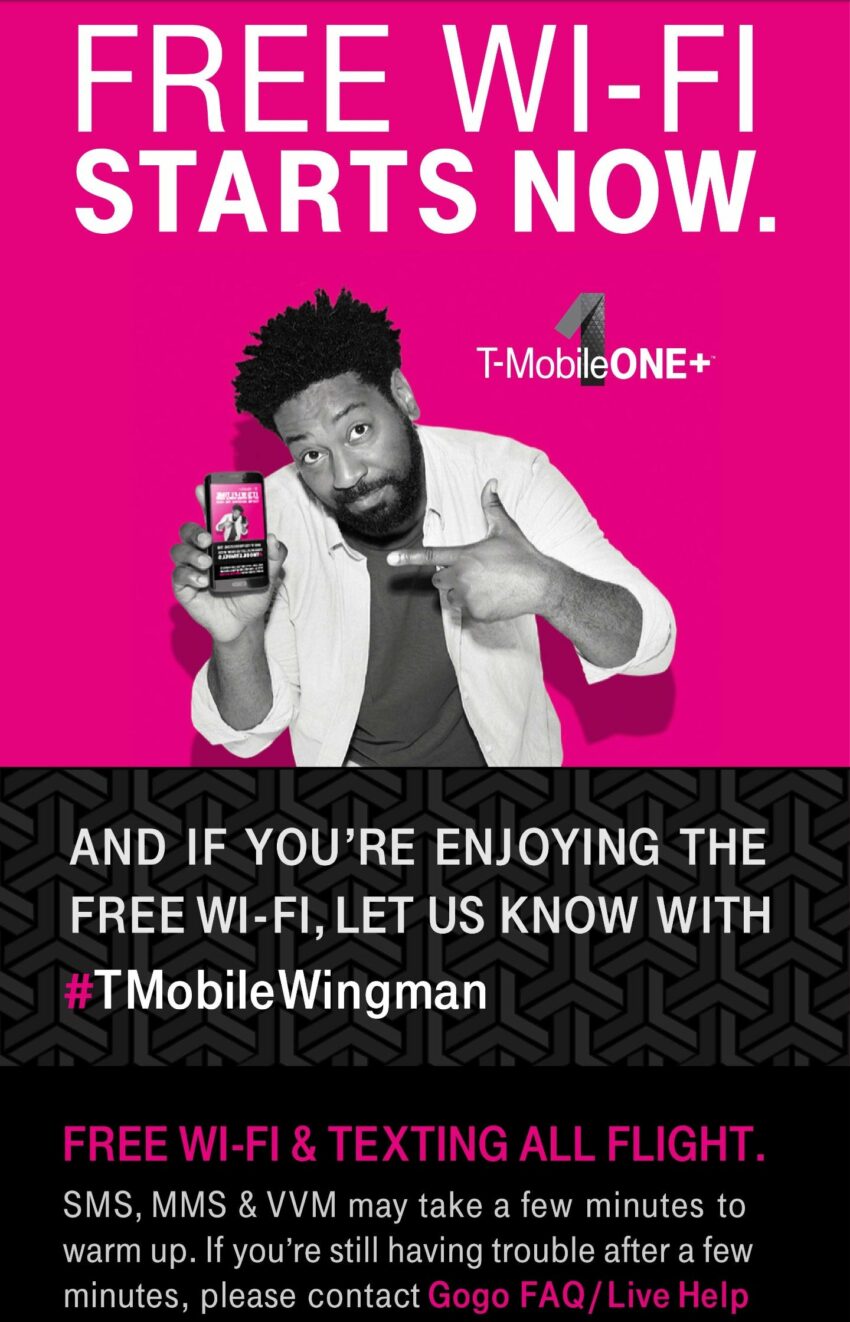
T-Mobile users get one free hour of Gogo wifi on all flights.
If you pay a little more to upgrade to “T-Mobile One Plus” you get unlimited Gogo access.
In either case, that wifi is officially only available on your T-Mobile device. They also limit that access to a single device per subscriber, per flight.
If you were thinking you’d be able to use your laptop without paying…you’d be wrong. The Gogo wifi gateway won’t even display the T-Mobile branding/free login option if you’re on a laptop.
If you want to get around these limitations, you’ve got two options!
Option 1:
The first option is by far the simplest, but only works if you want wifi on a single non-T-Mobile device (like a laptop) for the duration of your flight. (Note that you’re not able to switch devices mid-flight.)
All you need to do is change your browser’s User Agent. The User Agent Switcher plugin for Firefox does this nicely. I’m sure there’s good stuff out there for Chrome, too.
Plug these values into it to pretend you’re running a Google Nexus 6P:
Description: Nexus 6P

User Agent: Mozilla/5.0 (Linux; Android 7.1.2; Nexus 6P Build/N2G47H) AppleWebKit/537.36 (KHTML, like Gecko) Chrome/57.0.2987.132 Mobile Safari/537.36

App Code Name: Mozilla

App Name: Netscape

App Version: 5.0 (Linux; Android 7.1.2; Nexus 6P Build/N2G47H) AppleWebKit/537.36 (KHTML, like Gecko) Chrome/57.0.2987.132 Mobile Safari/537.36

Platform: Linux armv8l

Vendor: Google Inc.

Vendor Sub: (leave blank)
Once you’ve done this, the Gogo gateway pricing page will present you with a T-Mobile “$0.00” option. Login with your T-Mobile phone number, fill out the captcha, and you’re good to go. You can change your User Agent back to the default once you’ve logged in.
Option 2:
This option is a bit more work, but it will let you share your connection across devices. You’re authorizing your phone to use the wifi, and you then use Bluetooth tethering to share it with your laptop (or tablet, etc).
As of this writing, I use Android 7.1.2 and Windows 10. That’s what these instructions will cover, but the basic method should work across platforms.
One-time setup!
On your phone:
Go to Settings. Under “Wireless & networks” select “More”.
Tap “Tethering & portable hotspot”.
Ensure that Bluetooth tethering is ENABLED.
Go back to Settings. Tap “Bluetooth” to make your phone visible for pairing.
On Windows 10:
Go to Settings. (Not Control Panel).
Go to Devices.
Enable Bluetooth if it’s not already.
Click “Add Bluetooth or other device”
Click “Bluetooth”
Your phone will be found, so pair it.
Setup is complete. You shouldn’t have to do any of the above steps ever again.
Now here’s how to connect!
On Windows 10:
Open Control Panel (Not Settings).
Click “Network and Internet”, then “Network and Sharing Center”, then “Change adapter settings”.
Right-click on your wifi device to disable it. (Windows will favor wifi, and leaving this on will only send you to the Gogo gateway.)
Bluetooth should be enabled but also “Not connected” with a red X.
On your phone:
Visit the Gogo portal in your browser, and jump through whatever hoops they ask to enable your free wifi. Once you’ve confirmed you’ve got internet access on your phone, proceed!
Go to Settings. Under “Wireless & networks” select “More”.
Tap “Tethering & portable hotspot”.
Enable “Bluetooth tethering”.
On Windows 10:
A new window should pop up. If it doesn’t, go to Control Panel, “Hardware and Sound”, “Devices and Printers”.
You’ll see your phone in the list of “Devices”.
Right-click your phone, select “Connect using”, “Access point”
You’re done! Enjoy free wifi on your laptop for an hour! Or for the whole flight!


How would I share to an iPAD, not a lap top?
Hi! Great post. How can I do option 2 using an iPhone?